From Bramble to Brush - Foragink
- ripleygosling11
- Oct 9, 2022
- 2 min read
Making blackberry ink

The process of creating your own ink requires patience and an open mind. The results can vary and not knowing what to expect is part of the fun.
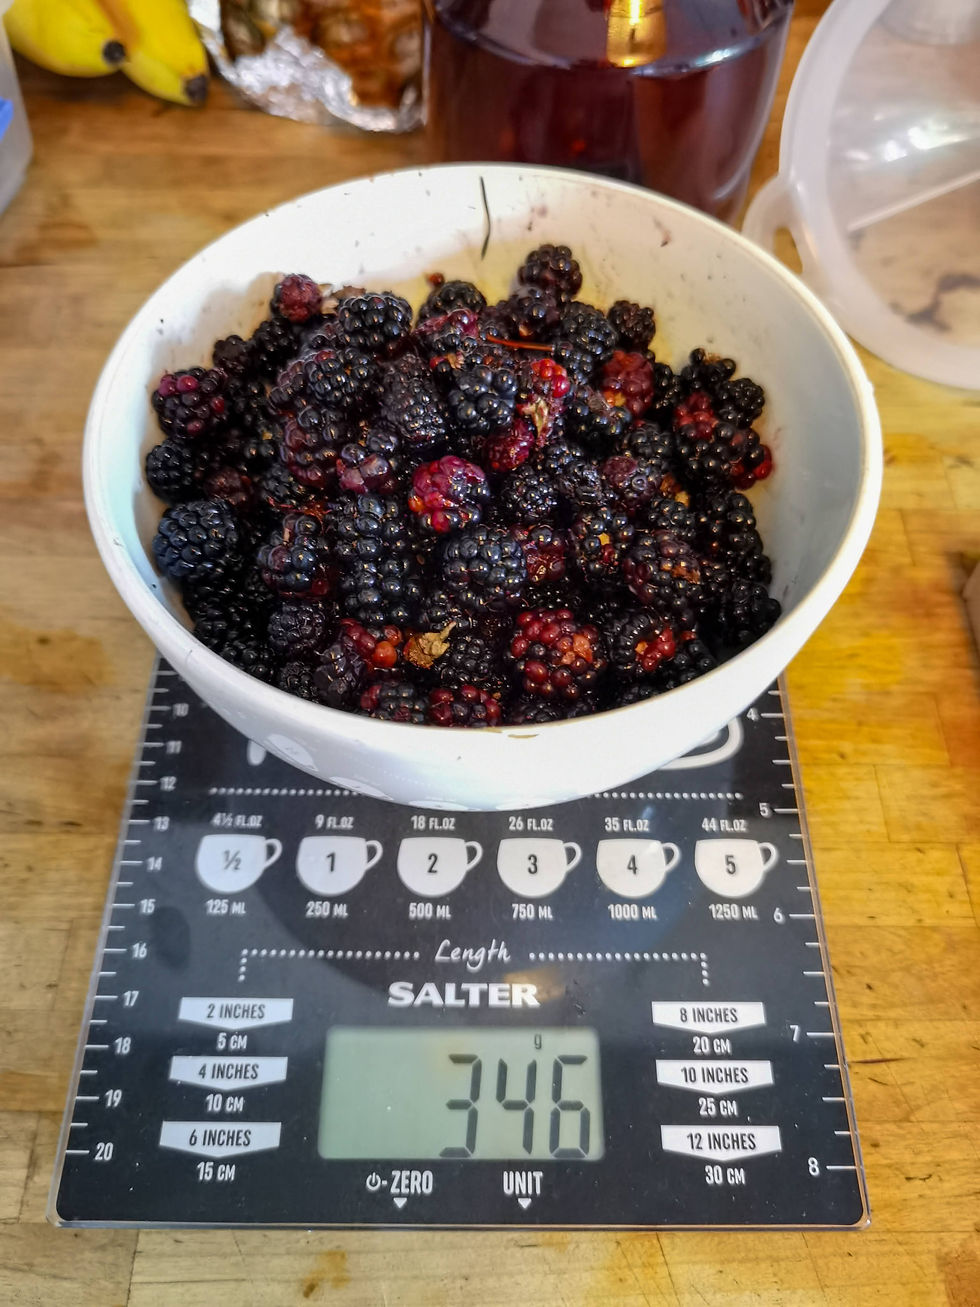
To start, I went and collected some wild blackberries. It’s hard to estimate what they weigh when you’re out collecting so I gathered as many as I could, whilst being mindful to leave some for the birds. The blackberries in my local area were quite small so it took a long time to collect them. I also made the rookie mistake of forgetting to bring gloves and my hands came away looking like I’d been doing some kind of blood sacrifice.


I washed the blackberries and transferred them to a saucepan. I then cooked them for roughly 20 minutes on a medium heat, whilst stirring to make sure they didn’t stick to the bottom. When they reached a consistency I was happy with I left them to cool.
An important thing to remember when ink making is how you like your consistency, everyone’s preferences will be slightly different. It’s a fairly forgiving substance so if you need to rework it looser or thicker you just need to either add more water or keep it on the hob a bit longer.
I then strained it using coffee filters and left for a few days. You could also use muslin cloth and squeeze it which would probably speed up the process.

Once I’d got as much liquid out as possible I added white vinegar, salt and some whole cloves to preserve the ink. And the mixture was complete!

The results were quite exciting. It was slightly thicker than shop bought inks and it quickly absorbed into the paper. It was highly pigmented and it’s initial colours were a bright pink red, and as it dried it became a deep purple. It diluted nicely and it’s effects as a glaze were very satisfying. I’ll definitely be making some blackberry ink artworks soon!


Comments